下载App
资质规则
旅行
账户

Andrew J
A Photographers Review
Shibuya Sky的点评
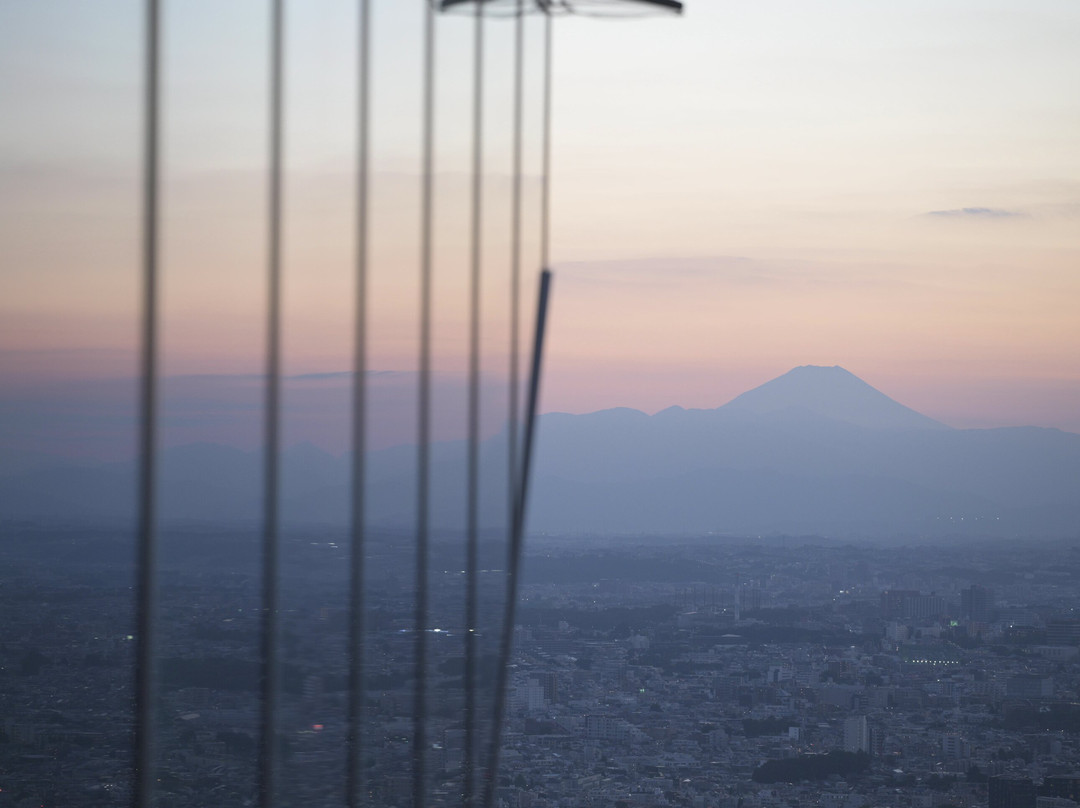
点评:I am reviewing this as a photographer to help other photographers answer all the questions I had.
First of this was amazing but make sure to turn up early for your time slot, maybe 10-5 mins it’s a bit of faff getting to the roof getting in the queue and then getting your bag in to a locker. IF you have a big camera bag like I do (Lowpro Whistler 450AW) I won't fit in the locker, but the staff have a room where they will hold it for you and give you a ticket for it, they do note that they don't accept responsibility for any damage etc but thats pretty standard
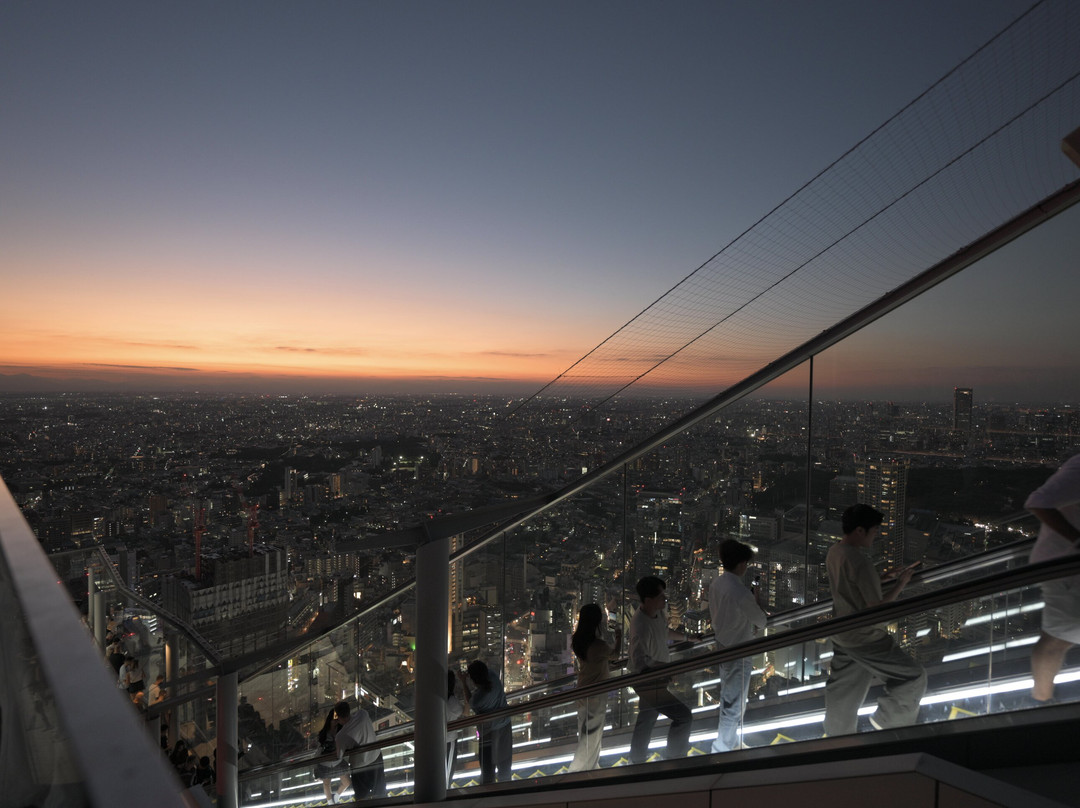
No tripods are allowed on the roof, Neck straps only NO wrist straps, but they will provide neck straps if didnt bring one with you.
I suggest wearing something with big pockets so you can put extra lenses in the pockets. I'd advise focal lengths between 14-200mm you can go longer if you want maybe up to 400mm, I used my 14-24mm, 24-70mm and my 70-200mm, i was able to fit 2 lenses in pockets and have one on the camera, I also had my 2x TC in my pocket too. Tho that said as long as you don't leave the exit of the roof floor (after the lockers) you can go back to your bag to change lenses out too, I had to go back to get a new battery.
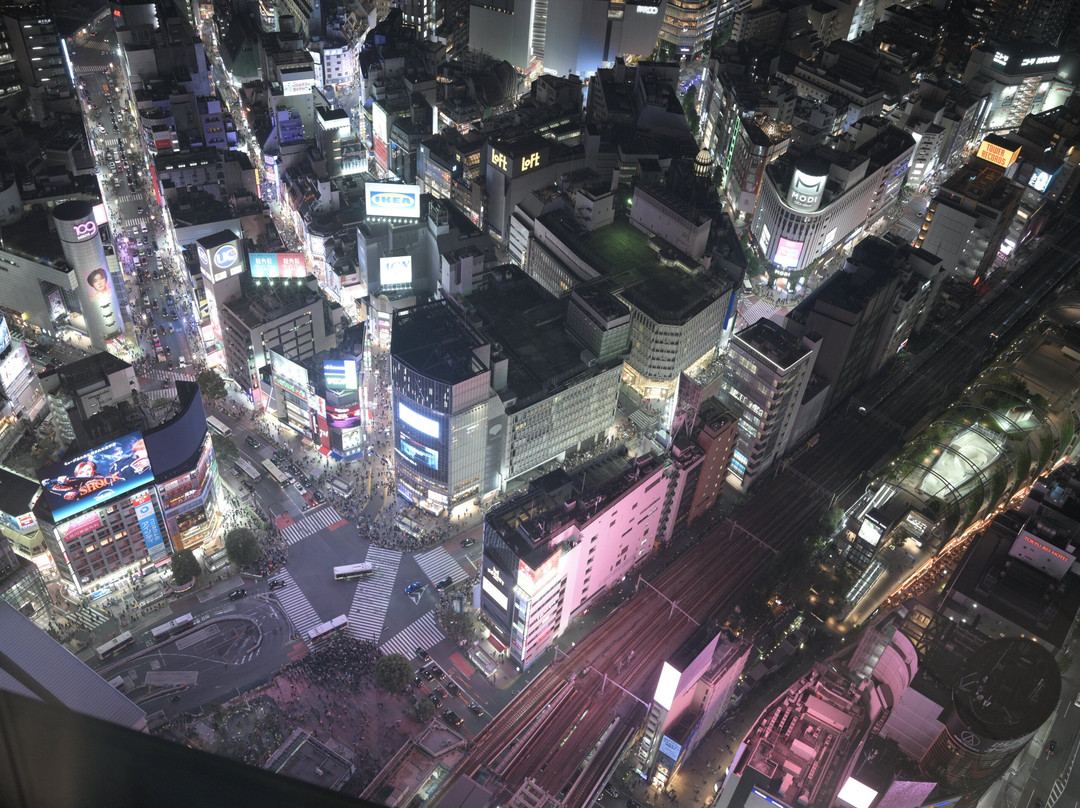
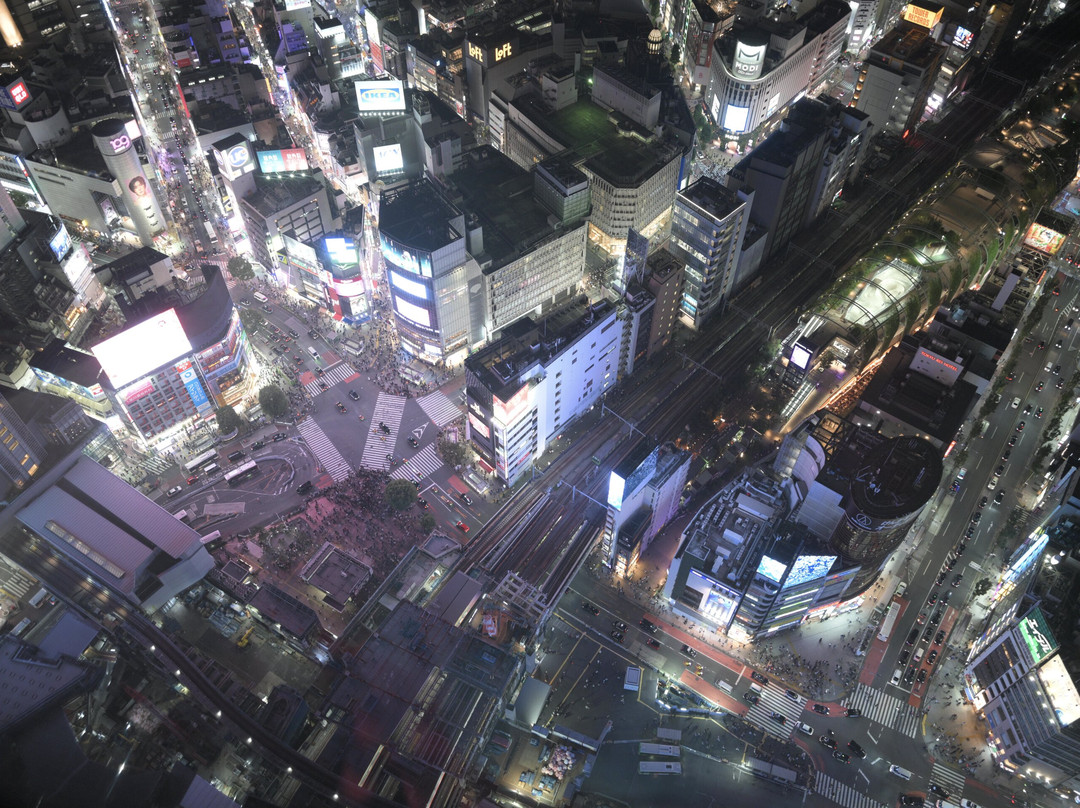
A notable thing I was not aware of is there are TWO observation decks, the outside open deck/roof observation deck but as you leave thru the gallery area there is and inside observation floor with big pano windows, this area has less restrictions tho I did not have a tripod with me so I'm unsure if you can use one here or not. This is where you will get the best fullest shots of Shibuya Crossing as the view down to the ground is much better here.
I would recommend a Camera Bean Bag if you want to go long exposures its much less noticeable than a tripod and you can get right up close to glass on the inside observation floor to get fantastic shots, and also a silicone lens camera hood which you can easily pick up from a near by Yodobashi or Bic Camera store. this will really help with window reflections.
翻译:我以摄影师的身份来评价这个地方,希望能帮助其他摄影师解答我所遇到的种种疑问。
首先,这里真的很棒!不过一定要提前到达指定时段的时间点,大概提前10到15分钟吧。因为要前往屋顶、排队,还要把相机包放进储物柜,这些步骤挺费时间的。如果我带的是像我这样的大号相机包(Lowpro Whistler 450AW),那就根本塞不进储物柜。不过工作人员有个专门的房间可以帮你暂存包袋,还会给你一张凭证。他们确实提到不会对任何损害等情况负责,不过这算是惯例了。
屋顶上禁止使用三脚架,只能使用颈带,手环式带子则不行;不过如果你没带颈带,他们也会提供。
我建议穿带有大口袋的衣服,这样就能把额外的镜头放进口袋里。我建议使用的焦距范围为14至200毫米,当然如果你愿意也可以选择更长的焦距,比如400毫米。我自己使用的是14-24毫米、24-70毫米以及70-200毫米的镜头。我成功把两个镜头装进口袋,还有一个镜头则装在相机上。我的2倍增倍镜也放在口袋里了。不过话说回来,只要不离开屋顶区域的出口(即储物柜所在的位置),你也可以回到背包处更换镜头;我就曾回去拿新电池。
有个我之前不知道的有趣事实是:这里其实有两个观景台。室外的露天观景台/屋顶观景台固然不错,但当你穿过画廊区后,会发现里面还有一个设有大型全景窗户的室内观景层。这个区域的限制较少,不过我当时没带三脚架,所以不确定这里是否允许使用三脚架。这里能拍到最完整、最出色的涩谷十字路口全景照,因为从这里俯瞰地面的视野要好得多。如果你想进行长曝光拍摄,我推荐使用相机豆袋——它比三脚架显眼程度低得多,这样你就能近距离靠近观景层的玻璃窗,拍出绝美的照片。另外,还可以准备一个硅胶镜头遮光罩,这种产品在附近的友都八喜或Bic Camera商店就能轻松买到,它能有效减少窗户产生的反光。

© 2026 Tripadvisor 版权所有。
部分照片由 VFM Leonardo 提供。
TripAdvisor公司对外部网站的内容一概不负责。优惠价格中不含税和其他费用。
ICP证:沪B2-20200433
沪ICP备20013175号
 沪公网安备31010502005427号
鹰程信息技术(上海)有限公司